 how-to
7 Steps to Find Reliable Solar Reinstallation Contractors
Last Updated: November 4, 2026
Quick Summary
To find reliable solar reinstallation contractors, verify the state license and insurance certificate before you book, then ask the crew to walk through the full detach-and-reset sequence in order. Require written line-item estimates, photo documentation, and system testing before you sign.
- Ask for the state license number, general liability insurance, and workers' compensation proof before booking.
- A crew should describe shutdown, labeling, module removal, storage, reinstallation, and testing the same way every time.
- Confirm in writing who coordinates with the roofer and who signs off before panels go back.
- Require mounting inspections when panels come off and again before they go back on.
- Get a written estimate broken into line items so change orders are priced in writing.
Table of Contents
- Why Solar Reinstallation Contractors Need Vetting
- Step 1: Confirm Licensing and Insurance Before You Call
- Step 2: Ask About Solar Panel Removal for Roof Replacement
- Step 3: Nail Down Solar Panel Roofer Coordination
- Step 4: Require a Solar Panel Mounting Inspection
- Step 5: Insist on Solar Panel System Testing After Reinstallation
- Step 6: Understand Warranty and Insurance Implications
- Step 7: Get a Written Estimate and Compare What's Included
- Frequently Asked Questions
Why Solar Reinstallation Contractors Need Vetting
Finding reliable solar reinstallation contractors starts with treating the job like a licensed trade, not a simple handyman task. Solar reinstallation is the process of safely shutting down, removing, storing, and reinstalling a solar array so roof work can proceed. Rushed removals can cause damage that is expensive to repair. Because rushed removals can turn a roof project into costly repairs, finding reliable contractors begins with checking that they are licensed and experienced in solar shutdown, removal, storage, and reinstallation.
The stakes are higher than most homeowners expect. Panels, racking, and wiring all carry manufacturer warranty terms. A crew without the right license or insurance can void those terms in an afternoon.
That is why vetting matters. Below, we walk through seven steps to vet a contractor, from license checks to written estimates.
Step 1: Confirm Licensing and Insurance Before You Call
Ask for the contractor's license number and insurance certificate before you book anything. Our guide to licensed solar contractors for roof repairs explains how to verify credentials and protect your warranty. In Florida, solar work falls under state-issued contractor licenses, and you can check a license through the Florida Department of Business and Professional Regulation.
Here is what to request:
- State license number, verified on the state database
- Certificate of insurance for general liability
- Proof of workers' compensation coverage
- The legal business name, not just a truck logo
A legitimate company will send these without hesitation. If someone dodges the question, move on.
Step 2: Ask About Solar Panel Removal for Roof Replacement
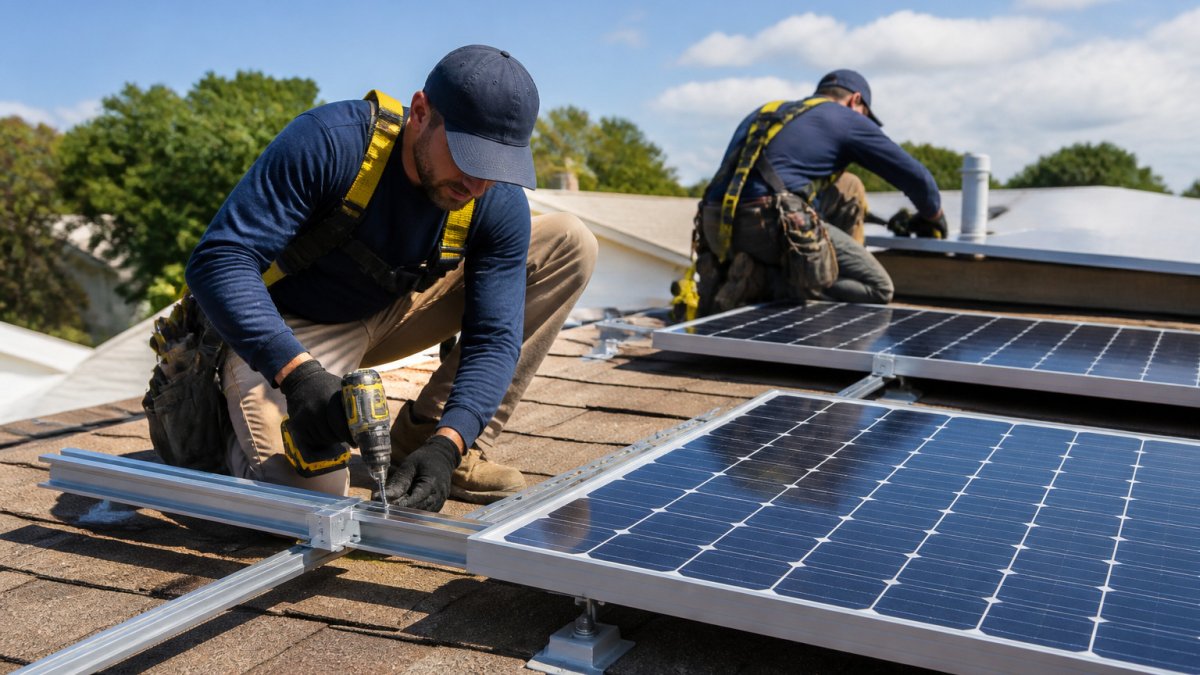
Solar panel removal for roof replacement is not a quick unbolt-and-stack job. You can see the removal-and-reinstallation service we provide for reroofs. Panels are heavy, wired in strings, and mounted to racking that has to come off cleanly. The quality of the removal decides whether the reinstall goes smoothly weeks later, so this is the step where you learn the most about a contractor.
Ask the contractor to walk you through the full detach-and-reset sequence, in order. A crew that has done this many times will describe it the same way every time:
- Shutdown and isolation. The inverter or microinverters are shut down per the system's rapid shutdown requirements, and the DC and AC sides are isolated and locked out before anyone touches a module.
- Labeling and documentation. Every string, home-run conductor, optimizer, and module position is labeled and photographed before removal. Without this, reinstallation becomes guesswork and mismatched strings can underperform or fault.
- Module removal. Modules come off the racking and go straight into padded storage, face-up or on edge in a rack, never stacked face-down or walked on.
- Racking and penetration handling. Mounting feet, flashing, and lag bolts are removed, and every roof penetration is sealed or flagged for the roofer. This is where leaks start if it is rushed.
- Storage. Modules, racking, and hardware go to a dry, secure location out of sun and weather for the weeks the roof is open.
- Reinstallation and torque. Racking goes back on the finished roof with new or inspected flashing and hardware torqued to the manufacturer's specification, not "good and tight."
- Testing and commissioning. String voltage, insulation resistance, inverter startup, and monitoring confirmation before the crew leaves.
Good answers sound specific. They mention rapid shutdown procedures, tagging every conductor, and a dry, secure place to store panels. Vague answers like "we just take them off" are a warning sign.
Watch out: panels left stacked on their faces, stored in the open, or walked on during removal can suffer micro-cracks that do not show up until production drops or a fault code appears months later. Ask where your array will sit for the weeks the roof is open, and ask to see photos of how the last job's modules were stored.
Florida conditions raise the stakes. Between hurricane season and afternoon thunderstorms, an open roof with a partially removed array is exposed, and coastal salt air accelerates corrosion on racking and hardware. A contractor who plans for weather windows and inspects mounting hardware for corrosion during removal is protecting the reinstall, not just the roof.
A crew that has done this many times will describe the detach-and-reset sequence the same way every time.
| Stage | What happens |
|---|---|
| Shutdown and isolation | Inverter shut down per rapid shutdown; DC and AC sides isolated and locked out |
| Labeling and documentation | Every string, conductor, optimizer and module position labeled and photographed |
| Module removal | Modules go into padded storage, never stacked face-down or walked on |
| Racking and penetration handling | Mounting feet, flashing and lag bolts removed; penetrations sealed or flagged |
| Storage | Modules, racking and hardware kept dry and secure, out of sun and weather |
| Reinstallation and torque | Racking back on finished roof; hardware torqued to manufacturer's specification |
| Testing and commissioning | String voltage, insulation resistance, inverter startup and monitoring confirmed |
Step 3: Nail Down Solar Panel Roofer Coordination
Solar panel roofer coordination decides whether your project runs smoothly or stalls. The roofer needs the roof clear to work, and the solar crew needs the roof finished before panels go back. Someone has to own that schedule.
Ask who contacts the roofer, who inspects the deck, and who signs off before reinstallation. Get it in writing.
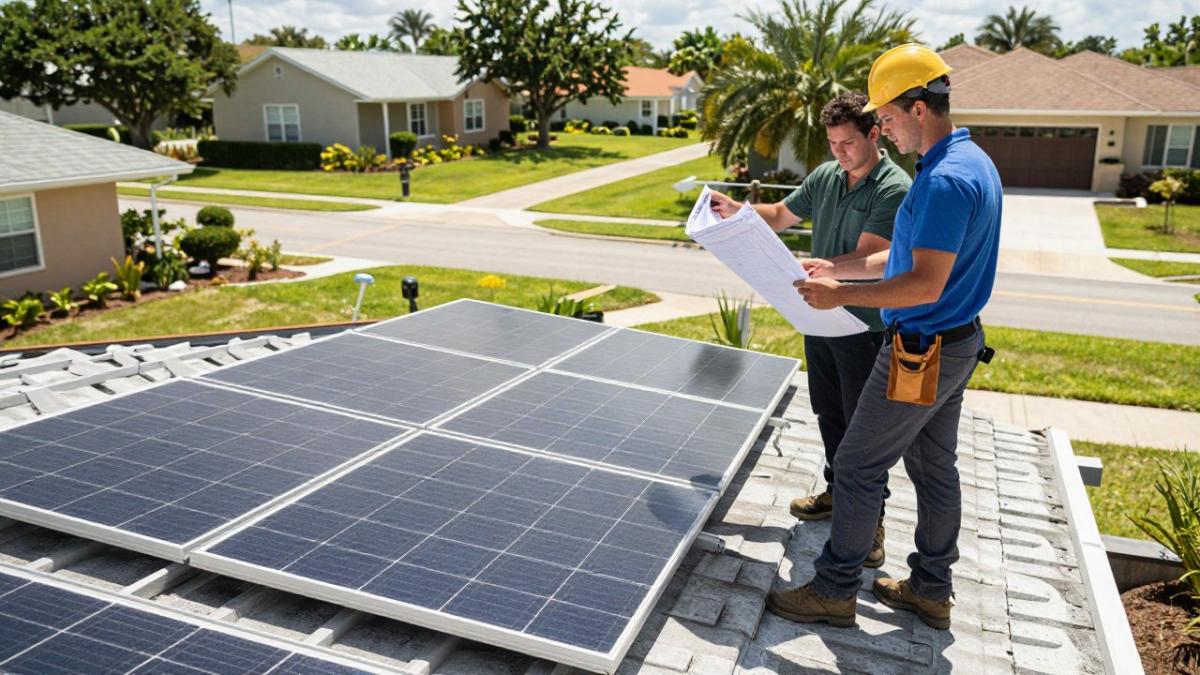
One detail most homeowners miss: the roofer's workmanship warranty and the solar crew's reinstallation warranty are separate. Confirm both cover the penetration points where mounts go back into the new roof.
Step 4: Require a Solar Panel Mounting Inspection
A solar panel mounting inspection should happen twice: once when panels come off, and once before they go back on. The first pass catches rusted feet, cracked flashing, and loose lag bolts. The second confirms the new roof can carry the load.
Ask the contractor to document both inspections with photos. That record protects you if a leak shows up months later.
Step 5: Insist on Solar Panel System Testing After Reinstallation
Solar panel system testing after reinstallation is not optional. Once panels are back, the crew should verify string voltage, check every connection, and confirm the inverter and monitoring system come online.
Ask for these results in writing:
- String voltage readings before and after
- Insulation resistance check on the DC side
- Inverter startup and monitoring confirmation
- A short production check on a sunny day
If a contractor skips testing, you may not learn about a loose connection until a fault code appears weeks later.
Step 6: Understand Warranty and Insurance Implications
Removal and reinstallation can affect three separate warranties: the panel manufacturer's, the original installer's workmanship warranty, and your homeowner's insurance. Read the fine print before anyone touches the array.
Ask each contractor these questions:
- Does removal void any manufacturer coverage?
- Who covers damage during removal and storage?
- Does your insurance cover the panels while they are off the roof?
- What warranty do you provide on reinstallation work?
We service existing systems and help with eligible manufacturer warranty procedures. We do not automatically take over another installer's warranty, and no honest contractor should claim to.
Step 7: Get a Written Estimate and Compare What's Included
A written estimate should list every line item, not one lump sum. Two quotes that look similar at the bottom line often differ sharply in what is included, and the difference shows up later as change orders or uncovered damage.
Ask each contractor to break the estimate into these categories, and compare them side by side:
- Removal labor, crew size, days on site, and whether module removal and racking removal are priced separately.
- Storage, where, how long, and who is responsible for damage while the array is off the roof.
- Replacement parts, mounts, flashing, clamps, rails, and any wiring or connectors that cannot be reused. Ask what is included versus billed as an add.
- Reinstallation labor, racking, modules, torque, and any electrical reconnection.
- Testing and commissioning, string voltage, insulation resistance, inverter startup, and monitoring setup.
- Permit handling, who pulls the permit and whether the fee is in the estimate.
- Warranty terms, in writing, separate from the manufacturer's coverage.
- Payment schedule, tied to milestones, not a large deposit up front.
Cost drivers for reinstallation generally come down to system size, roof pitch and access, how much racking and hardware can be reused, whether the inverter or rapid shutdown equipment needs work, and how long the array sits in storage while the roofer works. Ask each contractor to explain which of these applies to your roof, and treat a quote that ignores them as incomplete.
Permitting and utility steps depend on the jurisdiction and utility serving your address. Ask who handles each one and whether reconnection with your utility is included or billed separately.
Documentation is the other half of a fair estimate. Before removal, ask for photos of the roof deck and mounting points; after reinstallation, ask for photos of the same areas plus the test results. Keep the insurance certificate and the written scope with those photos.
Watch out: a quote that lumps removal, storage, reinstallation, and testing into one number makes it impossible to tell what happens when the roofer finds deck damage or a mount cannot be reused. Insist on line items, and ask in writing how change orders are priced.
To understand what drives reinstallation pricing, read our breakdown of solar panel reinstallation cost after roof repair. When you are ready for your own numbers, request a free estimate.
Frequently Asked Questions
How do I find a reliable solar panel removal and reinstallation contractor?
Start by confirming the contractor holds a current state license and carries both general liability and workers' compensation insurance. Ask for proof in writing, not just a verbal yes. Then check that they have direct experience with removal and reinstallation, not just new installs. Ask how they handle solar panel mounting inspection, roofer coordination, and system testing after reinstallation. Request a written estimate that lists every task, and ask for references from recent reinstallation jobs. A contractor who hesitates on any of these is a risk to your system and your roof.
Can the same solar panels be reinstalled after a roof replacement?
In most cases, yes. Solar panels are built to last decades, and a careful removal and storage process protects them for reuse. The deciding factors are panel condition, age, and whether the mounting hardware and racking are still compatible. A contractor should inspect each panel for microcracks, check the junction boxes and connectors, and confirm the racking is reusable before committing to reinstall the same equipment. If panels are damaged or obsolete, replacement may cost less than repeated repairs.
Will removing and reinstalling solar panels affect the system warranty?
It can, depending on who does the work and how. Manufacturer warranties often require installation by a qualified professional, and workmanship warranties from the original installer may not transfer. Ask the reinstallation contractor to explain in writing which manufacturer coverage remains, what the original installer's workmanship obligations were, and what warranty they provide on their own removal and reinstallation work. Keep all documentation, including photos and test results, so you have a record if a claim ever comes up.
What should be tested after solar panels are reinstalled?
A proper system test after reinstallation covers more than flipping the breaker. Ask the contractor to verify open-circuit voltage and operating current for each string, check that every connector is fully seated, confirm the inverter or microinverters are communicating, and review monitoring data for the first full day of production. They should also inspect the mounting points for proper torque and sealant, and confirm rapid shutdown works as designed. Get the test results in writing so you have a baseline for future performance checks.